How to Convert Textures into Specular Maps?
In modern 3D design, textures are essential for giving models a lifelike appearance, while specular maps take material realism a step further by defining how light reflects off a surface. With specular maps, you can control which parts of a model appear smooth and shiny or rough and matte. This is especially useful for creating metal, glass, and leather materials. This article will delve into how to convert existing textures into specular maps, guiding you through the process and helping enhance the detail and quality of your work.

What Is a Specular Map?
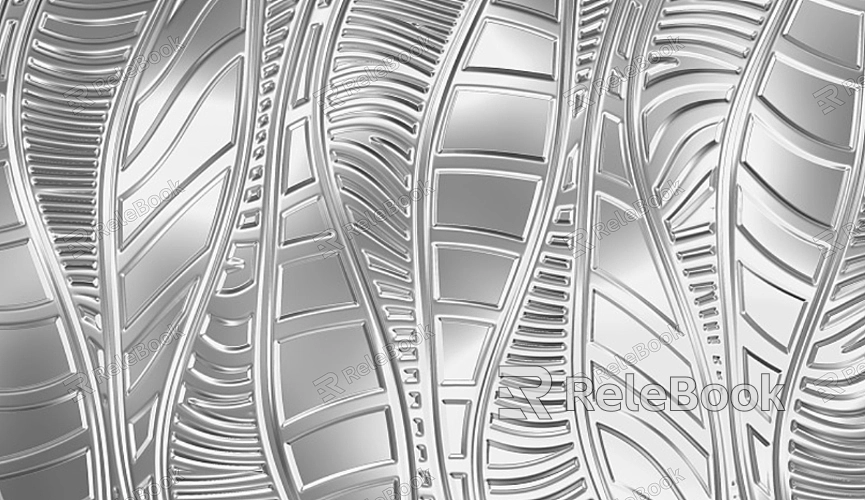
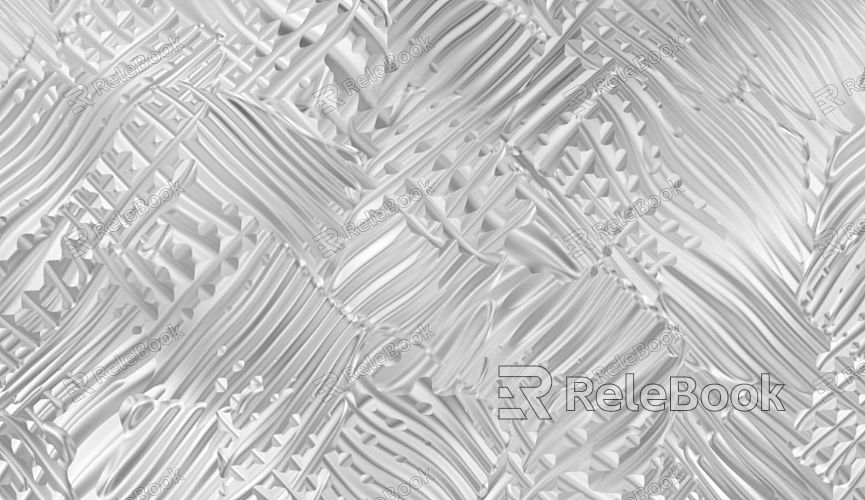
A specular map is a critical component in 3D material creation. It’s a grayscale image that controls the smoothness and intensity of light reflection on a surface. White areas represent high-gloss surfaces that reflect light strongly, while black areas indicate matte surfaces that reflect less light.
By converting textures into specular maps, designers can transform existing texture data into information that affects lighting, achieving more nuanced and layered effects.
Preparing for the Conversion
Before starting the conversion process, ensure you have the following tools and resources:
High-quality source texture: This serves as the foundation for your specular map. Choose a high-resolution image with rich details.
Image editing software: Software like Photoshop, GIMP, or Substance Painter provides powerful tools for image manipulation.
Material knowledge: Understanding the properties of materials, such as the reflective characteristics of metal, wood, or fabric, will help create accurate maps.

Steps to Convert Textures into Specular Maps
1. Analyze the Texture
Begin by observing and analyzing the texture. Identify areas that should have high reflectivity (e.g., smooth metal) and those with low reflectivity (e.g., rough wood). This analysis will guide you in creating a more targeted specular map.
2. Convert the Texture to Grayscale
Transform the texture into a grayscale image, which is the first step in generating a specular map. In image editing software, you can achieve this by desaturating the image or adjusting the hue/saturation settings.
3. Adjust Contrast and Brightness
After generating the grayscale image, enhance its detail by adjusting contrast and brightness. Increase the brightness of shiny areas and decrease it for rougher regions.
4. Manually Refine Details
Automatically generated grayscale images might not meet your needs entirely. Refine details manually if necessary, using brush tools to enhance glossy areas or masking tools to reduce reflectivity in certain sections.
5. Save in the Correct Format
Once optimized, save your specular map in a standard format like PNG or TGA for use in 3D software.
Practical Tips and Considerations
1. Tailor to Material Properties
Different materials require different reflectivity adjustments. For example, metallic materials usually need higher brightness levels, while fabrics use lower levels.
2. Test the Results
Apply your specular map in 3D software to test the effect. Observe whether the reflections align with your expectations. If not, revisit the editing software for further refinements.
3. Combine with Other Maps
Specular maps often work best when used alongside diffuse maps, normal maps, and others to create more realistic materials.
Converting textures into specular maps is a critical step in 3D design, enhancing the material’s detail and realism. With the right tools and steps, you can seamlessly transform textures into specular maps. Now, visit Relebook to download high-quality 3D models and textures to take your creations to the next level!
FAQ
Why is it important to convert textures into specular maps?
Converting textures into specular maps enhances material realism, especially for objects with significant reflective variations.
What if the specular map doesn’t look right?
Try adjusting the brightness, contrast, or specific details in the map. Testing and iterative refinement are key to achieving the desired effect.
What tools are commonly used to create specular maps?
Photoshop and Substance Painter are widely used for their robust features, while GIMP is a free alternative.
Are specular maps suitable for all materials?
Most materials benefit from specular maps, but for low-gloss or non-reflective surfaces (e.g., powdery textures), the impact may be minimal.

